
Production & Post-Production
Behind The Scenes With Sam
Here is the behind the scenes video for filming the music video. This basically goes over how the day went with narration by me. Reece from college was kind enough to help film the majority of it on some short notice which I am very grateful for.
Draft One
I created this first draft on the first day back at college after filming and this was used to get all of the best footage into a video to see what I have to work with and get some feedback. Even for a first draft, seeing my vision finally come alive has really sparked my motivation which I have lacked slightly for a few weeks. I know at this point I have 2 weeks before the first deadline and seeing how quick I was able to produce this has filled me with more confidence to finish this project on a high.
Some of the feedback I received from Paul was known, for example, the lack of sound in the first clip. I will add the ambience back in the next draft, along with the text bubbles. I also really like the idea of changing the colour of the flashback, it's not something I would've thought to do but I will be adding it in a later draft. Obviously, there are a few pointers on camera issues and lip-syncing which I will try to fix as well as I can.


Draft Two
This edit was made to fix any major mistakes from the first draft as well as improve upon the feedback given by Paul. One of the main sections I work on was the first shot in my bedroom. I added some ambience, added the text animation as well as some sound effects to go with it. I also made sure the lip-syncing was fixed too. One of the other things I focused on improving was the narrative elements in the chorus' as I cut them down to remove the autofocus mistakes. This was an error on my part but I don't know why it happened so much as non of the other shots have the same problem.
I will follow Paul's feedback for the next draft which means I will remake the text bubbles to time it all better and to fit with the story as well as de-saturate the story elements more and look at adding the title graphic at the start.


Creating the final text bubbles
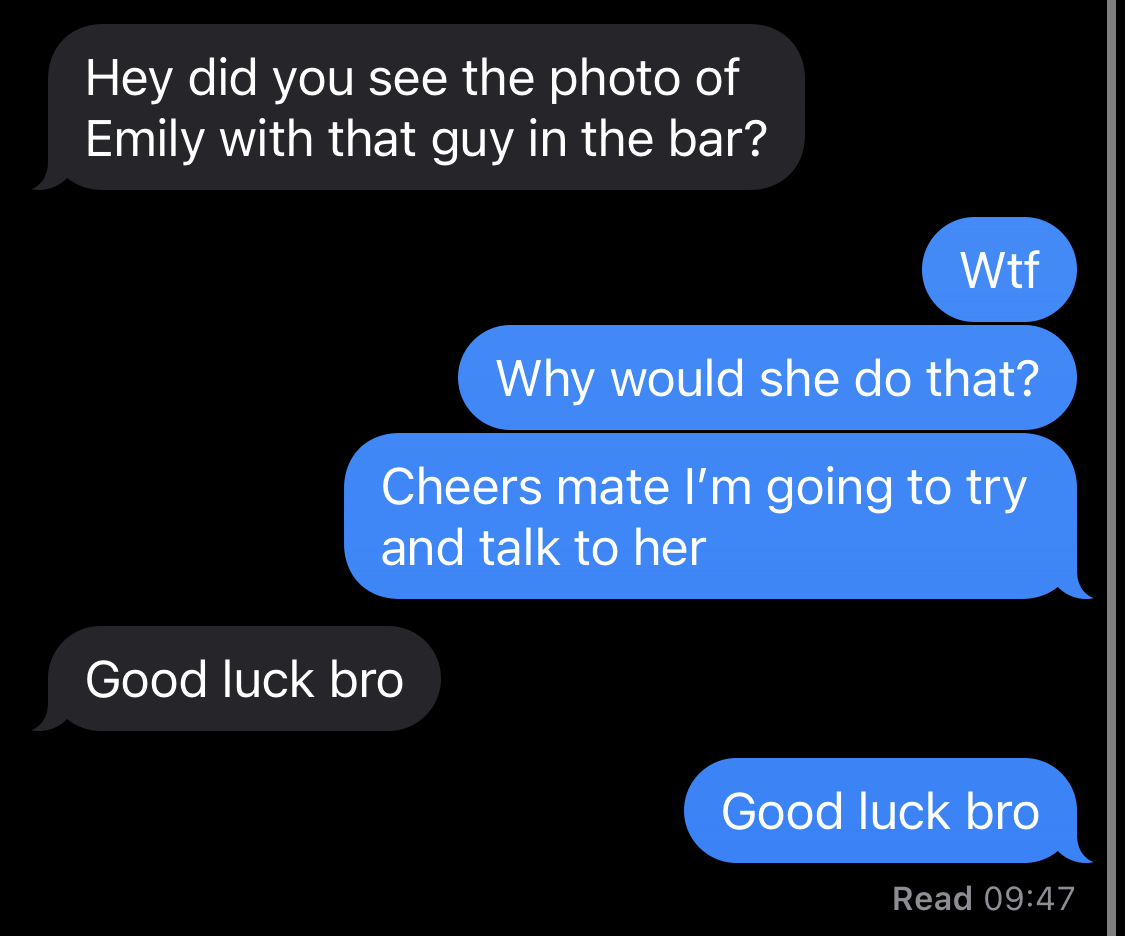
To create the text bubble animation, I started off by drafting some initial ideas for the messages in my notepad and then typed them into iMessage and sent them to myself. I would delete the messages that weren't needed to get the graphic. I screenshotted these and put the screenshot into Photoshop to remove the background, resize them and draft them onto where I wanted them on the screen. I saved them all separately as PNGs and imported them into my timeline on Premiere Pro where I used keyframes to create an animation with a drop shadow effect to make it fit in better. This took a while to do as I kept changing the messages, for example, Hope wanted her name to be altered and chose Emily. As well as this Paul said about changing the messages to still fit the narrative so I did that as I agreed.


Draft Three
In this draft, I remade the text graphic to take onboard feedback from Paul and Hope. I changed Hope's name as well as changed a few of the texts to work better with the footage. I also added some transitions in which I thought looked cool. In addition to these I decreased the saturation of the narrative elements even more, according the Paul's feedback.
After receiving Pauls feedback, I went to implement quite a few of his suggestions into my work. For example, I tried the FFT filter but it didn't quite fit what I wanted with the length of the clip. I also tried to add a title card but I preferred it without and it just being at the end.
I also created a draft which I gave the number 3.5 due to the only difference being the edition- of the VHS filter which I created and the change to a 4:3 aspect ratio. At the time, it was just a quick test as I wanted to test it out but I couldn't view it properly in Premiere Pro so I exported it and uploaded it to YouTube to show here and watch properly. I really like the VHS effect and it has become part of my "style" as I think it works really well in a few of my pieces of work.
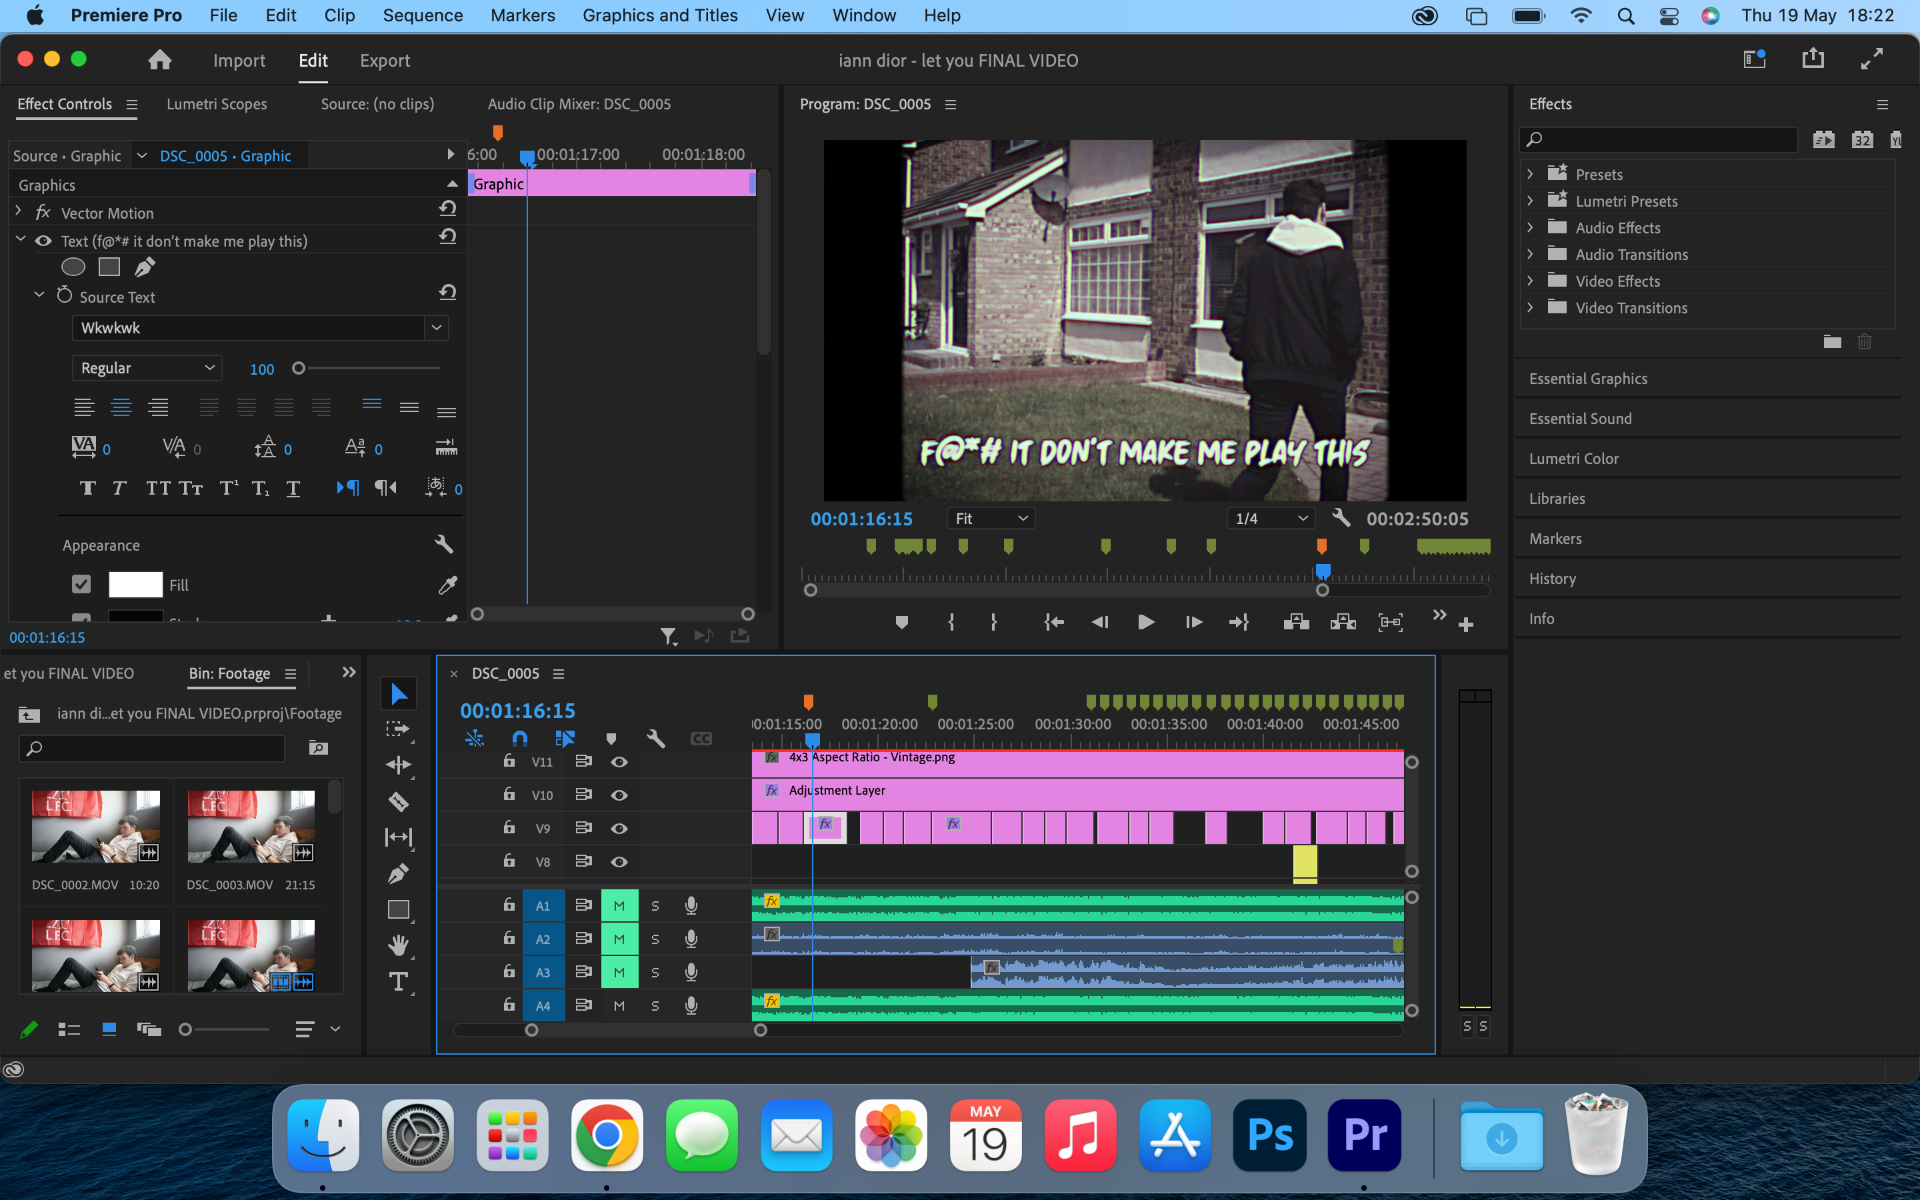
The main goal for the next draft is to create subtitles to go at the bottom of the video, I think that I will use the same font as the logo at the end of the video.


Creating The VHS Effect
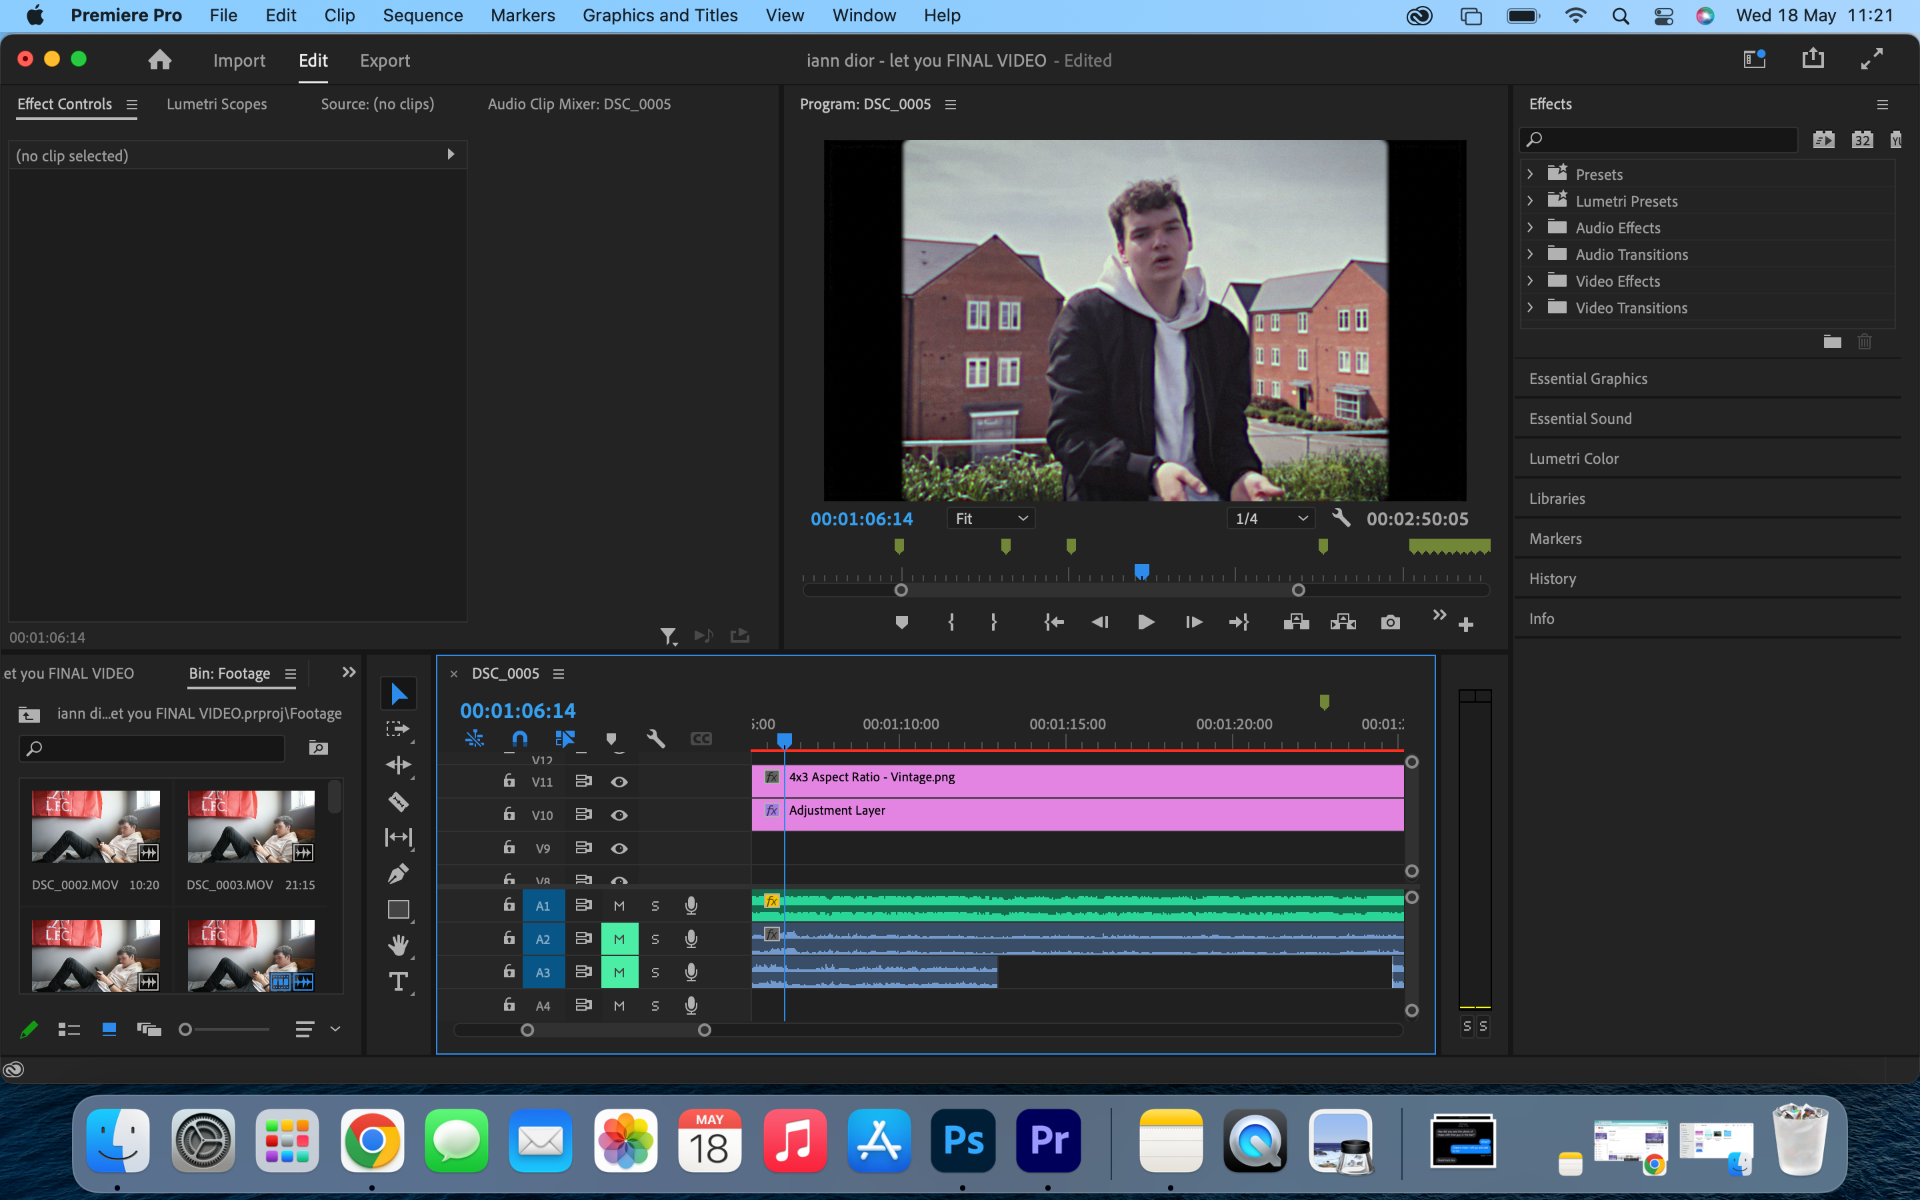
To create my VHS effect I added an adjustment layer above all of my clips which allowed me to add all the effects onto one layer without having to do it to each clip separately. First of all, I added lumetri colour to the adjustment layer which I used to increase the contrast and the faded film as well as decrease the sharpening, vibrance and white level. I also added a purple shadow tint. Next, I changed the curves but rather than explaining what I did I'll add a screenshot as that's a bit easier to show. I also added a vignette at "-1" which is a lot but it is needed with the changed ratio. After that, I added 2 channel blurs, one being red, vertically, and the other being blue, horizontally. This is used to create the colour fringing commonly associated with VHS. Then, I added an unsharp mask which really helped to give the retro look after decreasing the sharpening earlier. Finally, I added a noise effect with a low percentage, with no colour grain, to give a film grain effect. To finish the whole VHS look, I added a 4:3 ratio png which I found online.


Draft Four
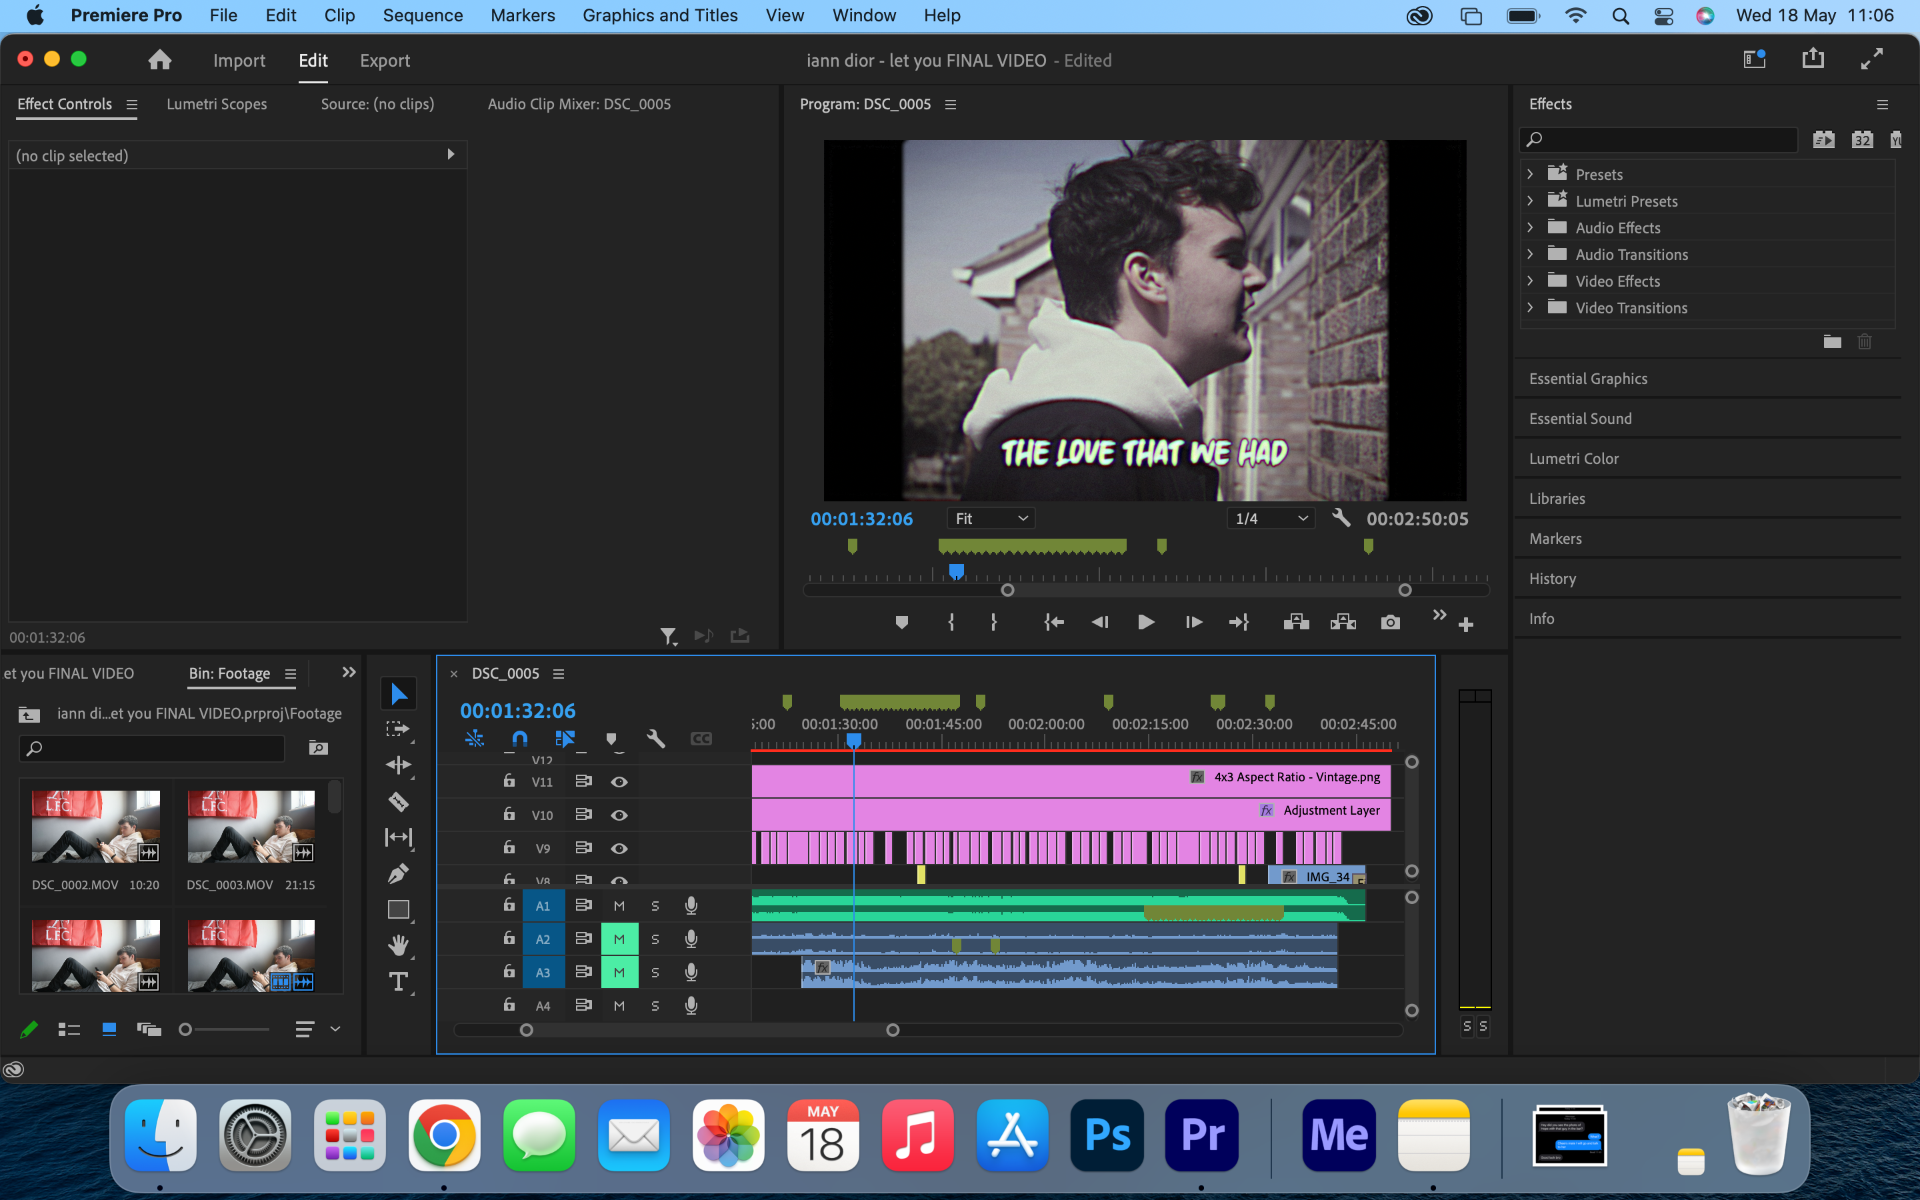
For this draft, I created the subtitles for the song. I used the genius to help with the lyrics and I also attempted to censor the swear words but it didn't quite work in this draft (Future Sam here, this gets fixed in the next draft). I used the same font as the logo and I think it looks really cool, especially with the VHS effect over the top. I also moved the text animation to fit in the 4:3 aspect ratio. I edited this before receiving the feedback for the 3rd draft so that wasn't fixed yet.
This should hopefully be one of the last drafts without too much to fix now. Below you can see some of the feedback that I received.

The Final Video
This is my final video for the project. The main thing I fixed in the draft was the censorship which included ensuring the subtitles were censored correctly and censoring the song. Some smaller changes also included moving the VHS effect to start at the start of the song and moving the shot of Sam and Hope to be more centred. I am very happy with the final outcome of the video. If I had an extra week after filming, I may have been able to spend more time experimenting with different ideas.

Promotional Posts


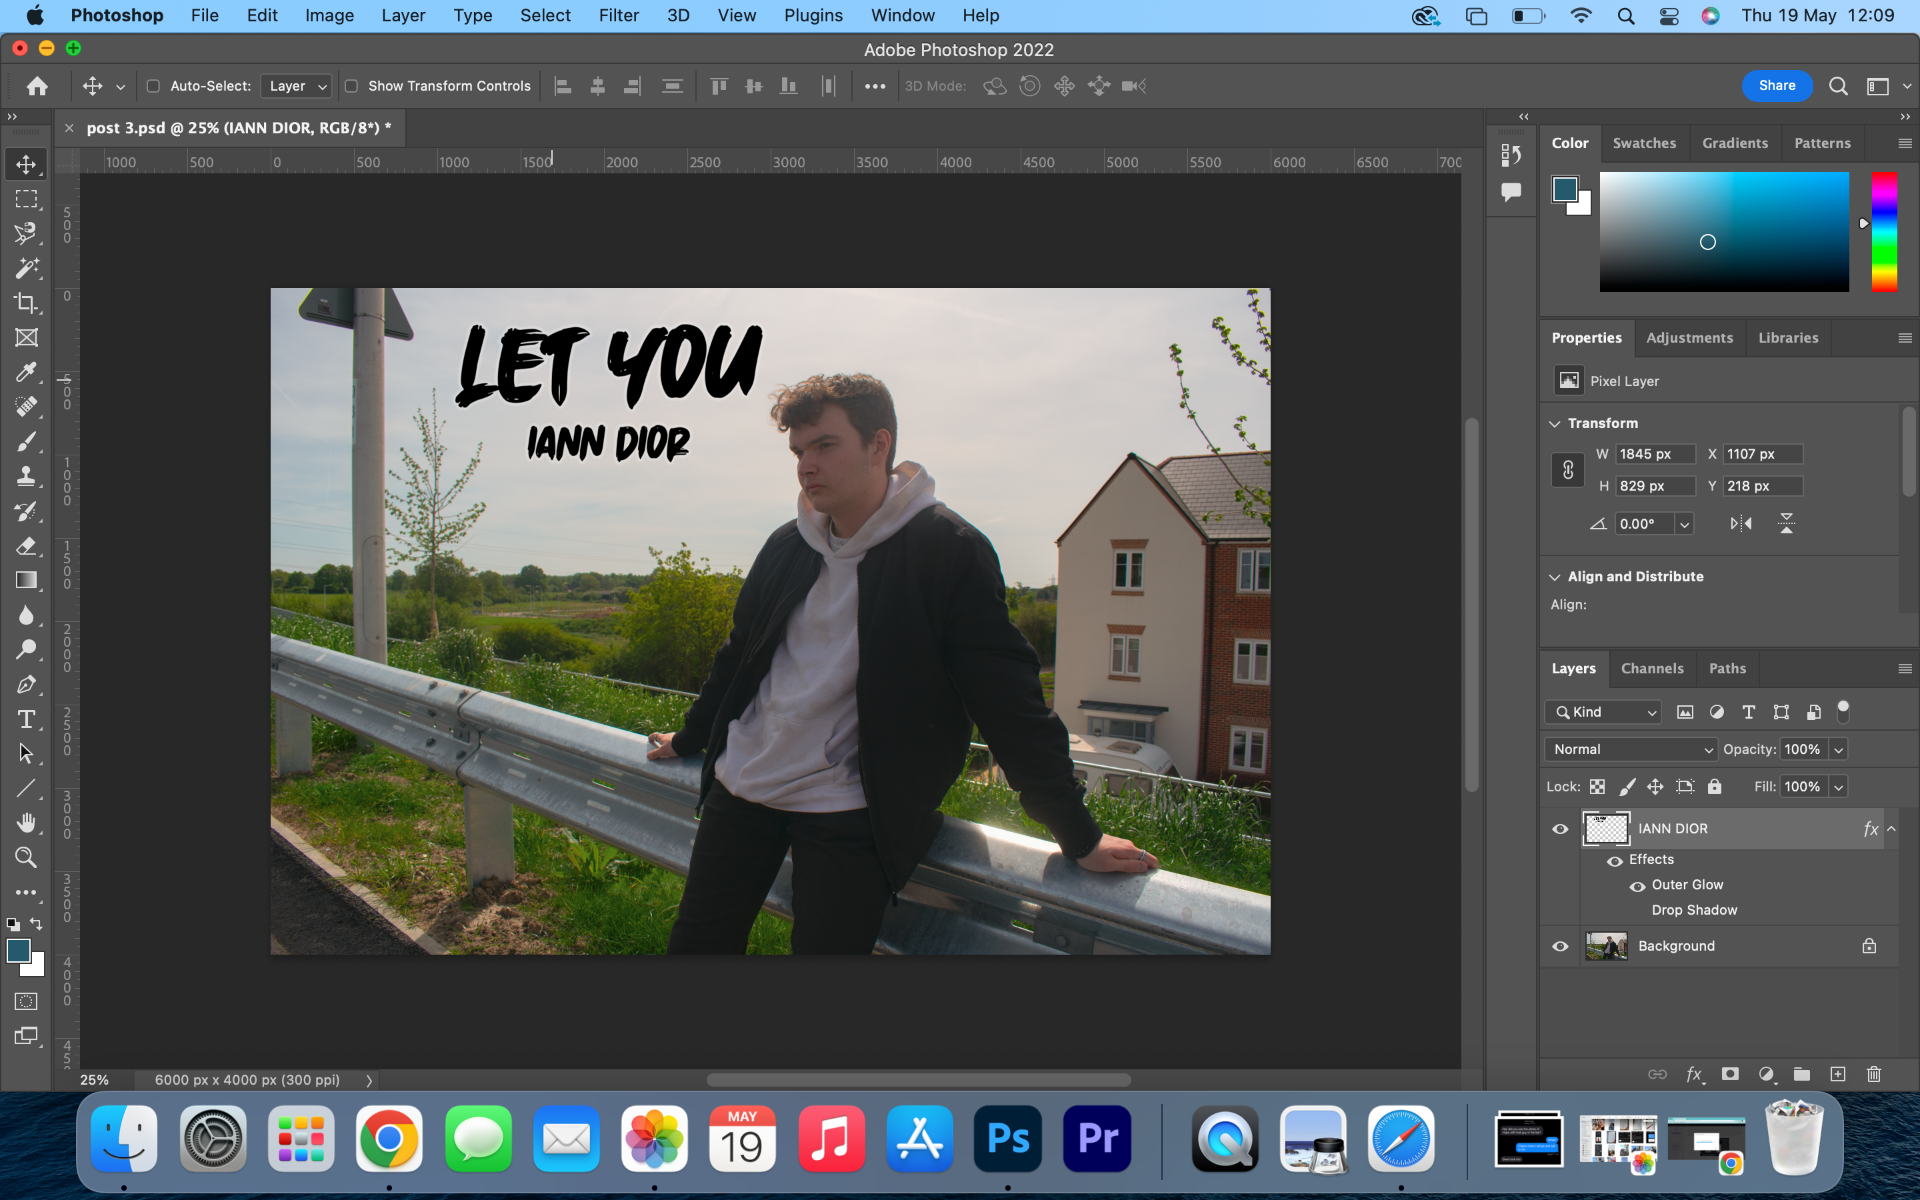
These are the 3 promo posts that I created for social media. I took these photos on the day of filming and took them in RAW files so that I could edit them better. I used Camera Raw to edit the photos and then imported them into Photoshop to do any more corrections as well as add the paper effect and logo. I created a plan for these before the day of filming so I had an idea of what I wanted to get rather than just random photos and guessing what I thought when editing. I am really happy with how these turned out as the colours, especially where Sam's on the wall really pops out. I also tried to create a post specifically to use the carousel feature on Instagram, taking inspiration from Sky Sports where they do the same with a quote on either side of the post and a photo in the middle but I was going to do the lyrics instead. This ended up not working as there were too many lyrics to include.




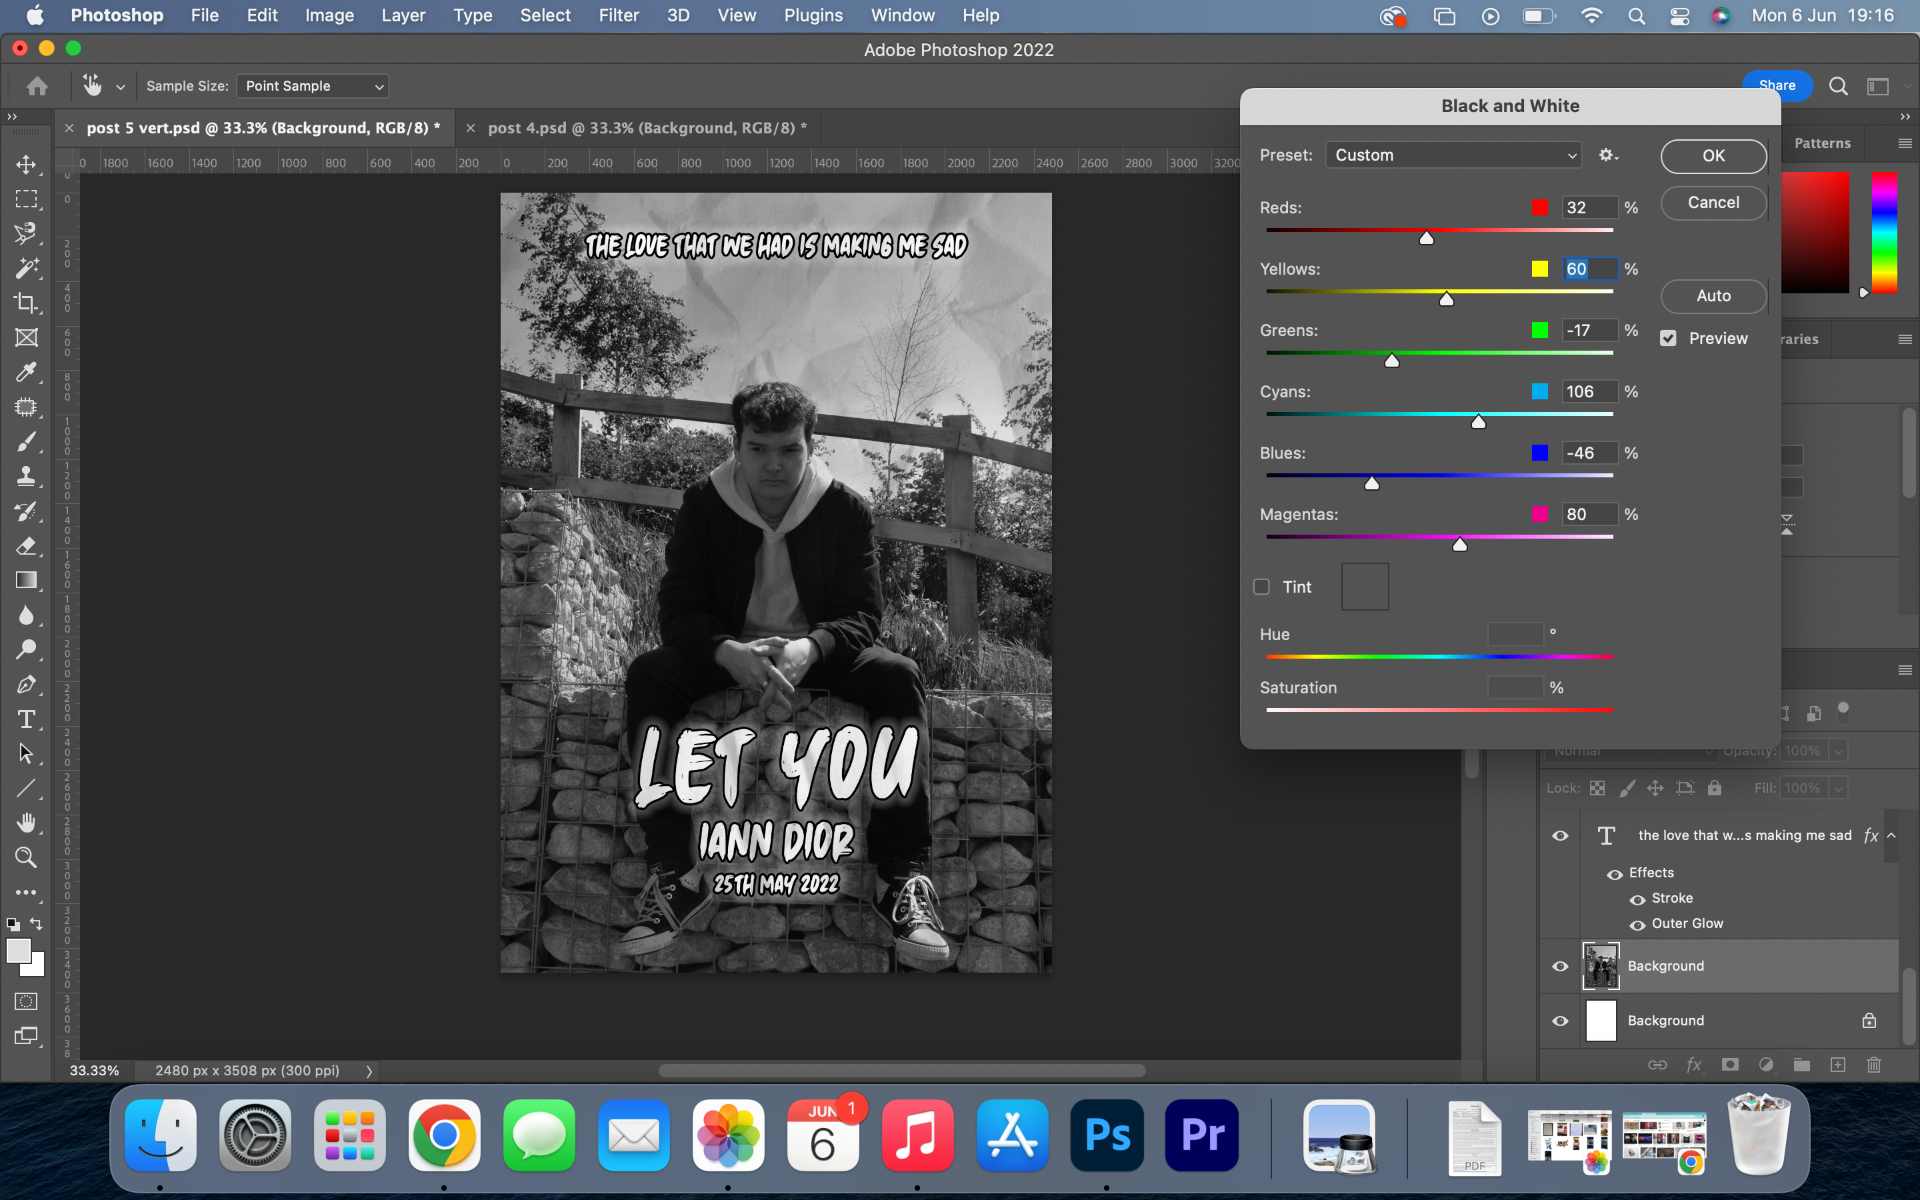
After receiving some feedback from Paul, I created a new promo post which would be used exclusively on Instagram as it is square. I didn't take any portrait photos when filming which meant the photos would have been quite close to Sam if I cropped it to be vertical. I thought to create something different to my other work I would create it in a different ratio, the other posts being 3:2 rather than 1:1. I experimented a lot with colours and I changed the text to white to match the subtitles like the music video, I added the same stroke as in the music video too. I also added a tag line "the love that we had is making me sad" which is a lyric from the song and I think it works well with Sam looking quite upset. In addition to this, I added the date of the video's release date. I would say that this is actually the best post I have created because of the text being changed as well as the position of Sam in the image.


After creating the square post and some feedback from Paul, I went back to create my original 3 posts but in square form to fit Instagram better. I also used the new logo in white with the black stroke as I thought it looked a lot better than the original black logo. I don't think that these work as well as the originals in 2:3 but these would work better to catch the attention of viewers on Instagram as they would fit the square grid format that Instagram is known for.


After not thinking the rectangular poster would work, I tried again but used the content-aware fill tool to expand the height of the original photo to keep the width without making Sam too squashed or small for the poster. I then added the same text as the square photo. This works really well and I could envision this being put up at concert venues, random hallways that display posters or at festivals with tour posters. I used Photoshop to create a few mock-ups too.




To finish the promotional side of my music video, I created a 30-second promo video. The video just uses the song with Sam singing straight away to keep viewers interested as you need to grab the viewer's attention very quickly on social media. I also added a text card at the end to send the views to my YouTube Channel at the end of the video. I created the video to be square and only be 30 seconds long to work with Instagram better.

